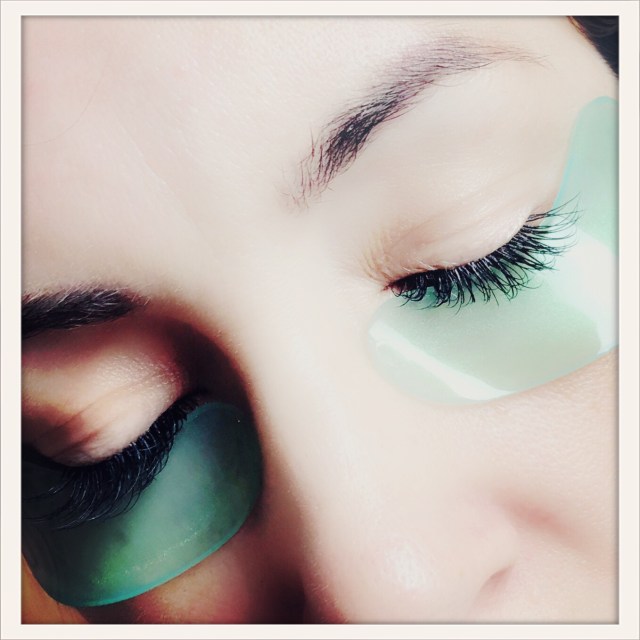
Avatara “Cool As A Cucumber” Hydrogel Eye Mask

The Avatara “Cool As A Cucumber” Hydrogel Eye Masks have been on my list of products to try this summer and I recently had the chance to try them out.

I tried this on a morning (ok afternoon) when I didn’t sleep so great the previous night. I looked tired. My eyes were puffy and baggy. It was not a cute look! 🙂 I remembered that I received these as a gift from my friend, so I was really excited to see how they worked.

The Process:

On a freshly washed face I placed the eye masks under each eye. The directions say to keep the masks on for 10-20 minutes, yet I left them on for more like 30-40.

The first and definitely one of the greatest things about these eye masks is that they stay put. I like to multi-task while doing my masking regimen, and one of my biggest annoyances is when the mask I am using slips or moves on my face. These stay put!

When I removed the eye masks, even though I was skeptical, I was pleasantly surprised that my under-eyes looked noticeably refreshed. The puffiness/bagginess had not completely gone away, but had dramatically decreased. I was very happy with the results.

About The Product (from the Avatara website):

Cucumber and Flower Extracts are designed to calm and cool your under eye area.

Reduce the look of dull and puffy eyes. Paraben free. Fragrance free.

Hydrogel offers the highest level of absorption of active ingredients locking in moisture for intense hydration. Our eye mask has a soft texture and excellent adhesion to deliver long-lasting hydration.

How Much:

The price of Avatara products are pretty inexpensive for their quality. The eye masks and lip masks are $3 each. Sheets masks and nose masks are also $3. Foaming face masks are $4. Mask sets are $9. They also have the option of buying in bulk, in which you can get a 15 pack of various masks for $35 (a savings of $10).

Where To Buy:

Similar Avatara Products To Try:
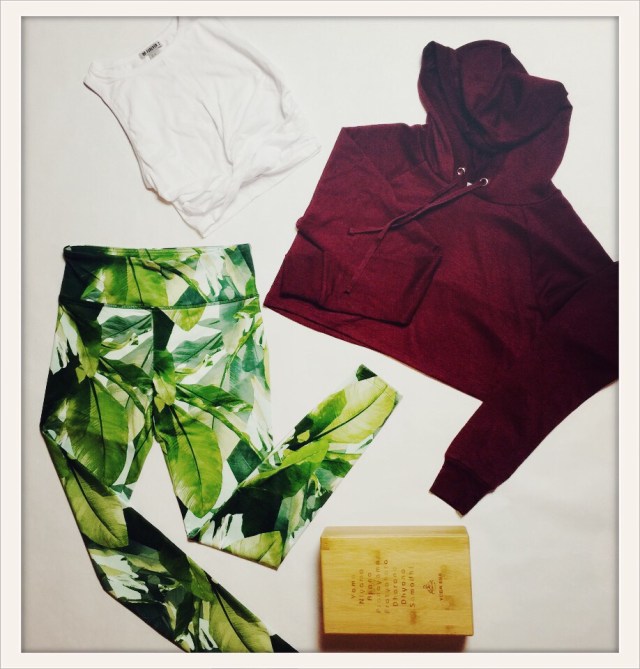
Look of the Day – Namaste

This look was inspired by my daily struggle to work on my yoga practice. At best, I’m a once a week practitioner, but I’m working hard on changing that on the daily basis. Namasté!

Photo Information: Crop Top, Hoodie, and Leggings by Forever 21, Yoga Block by Yoga Era.

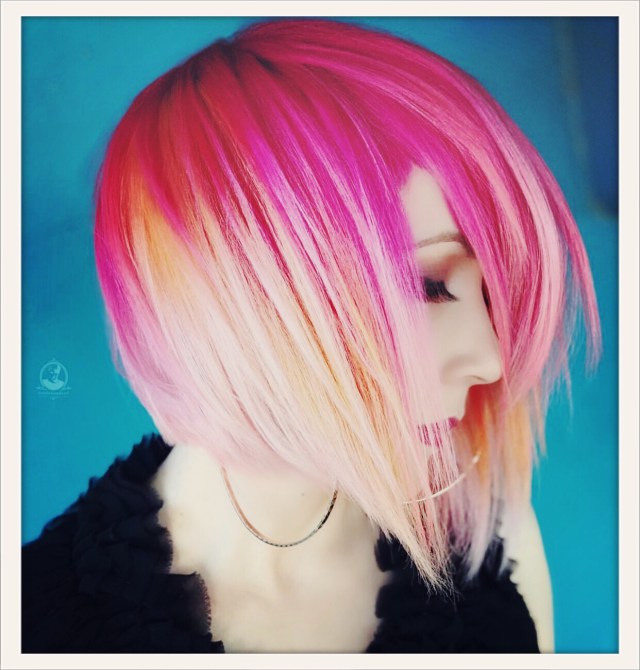
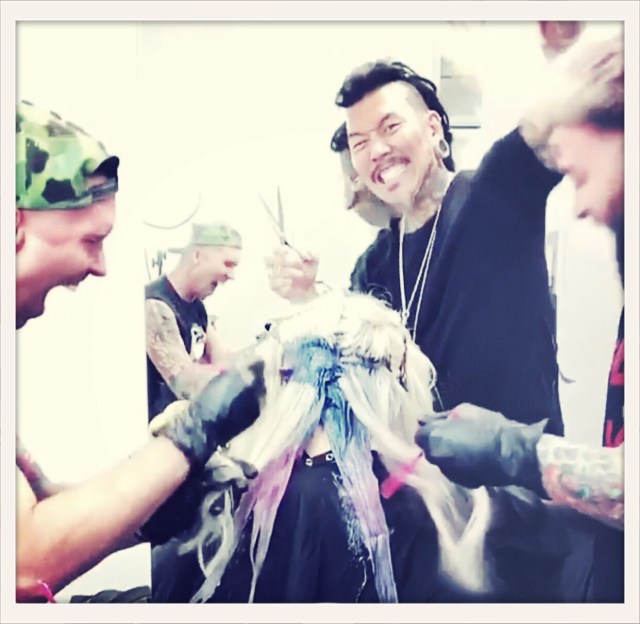
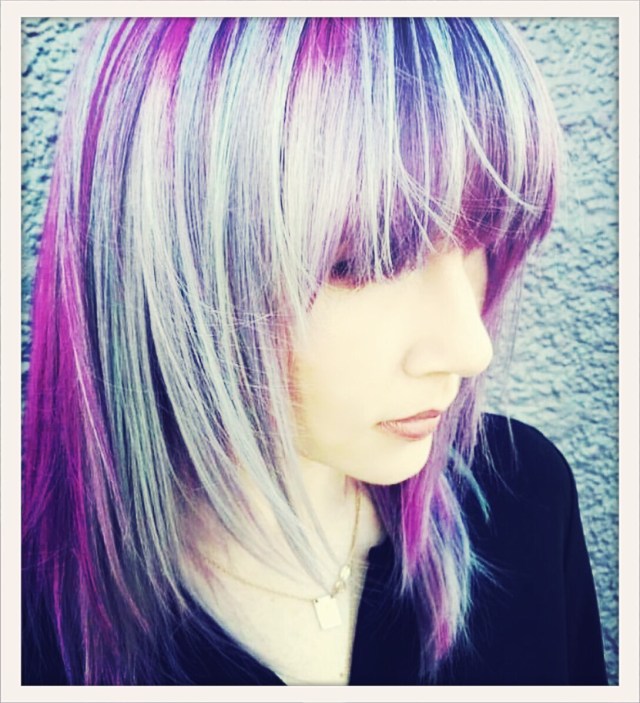
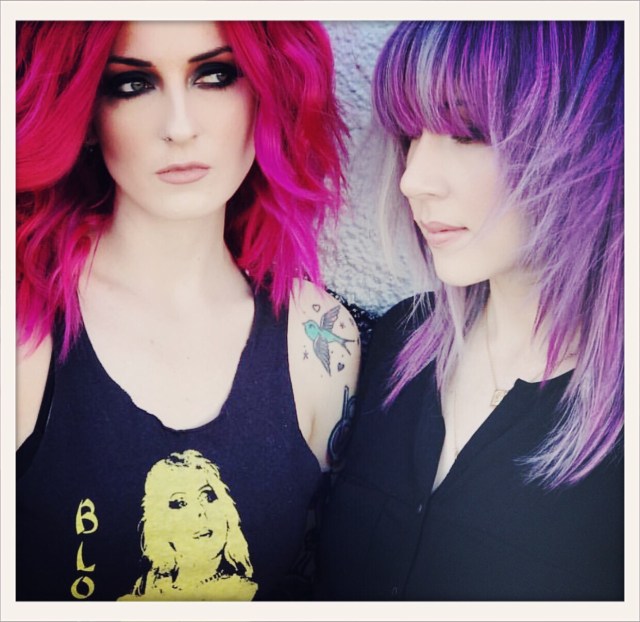
A Day in the Life of a Hair Model – ISSE Long Beach 2018

Have you ever wanted to be a hair model? If the answer is, “hells to the yeah!” then please read further and I will share my hair modeling experiences, tips, and advice.

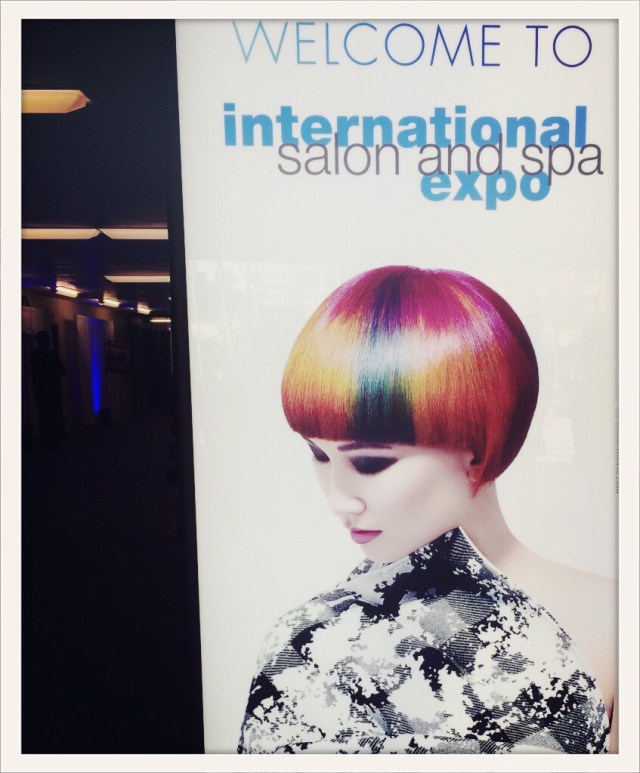
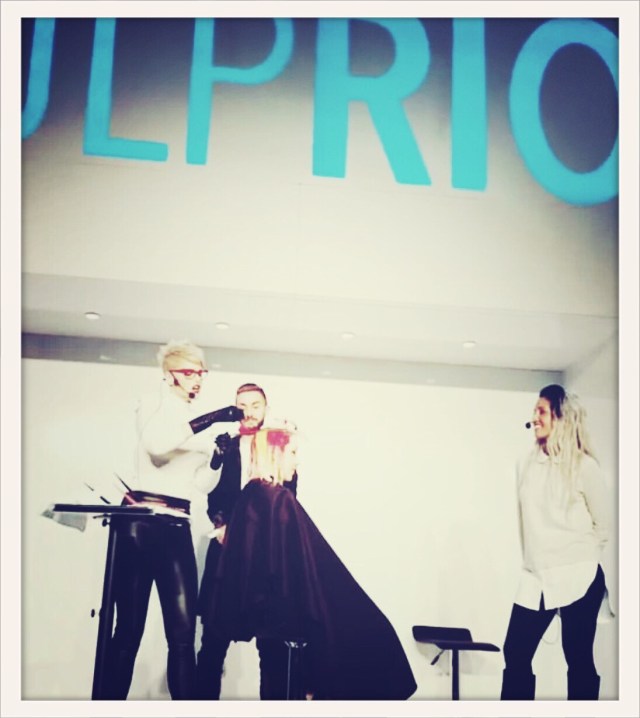
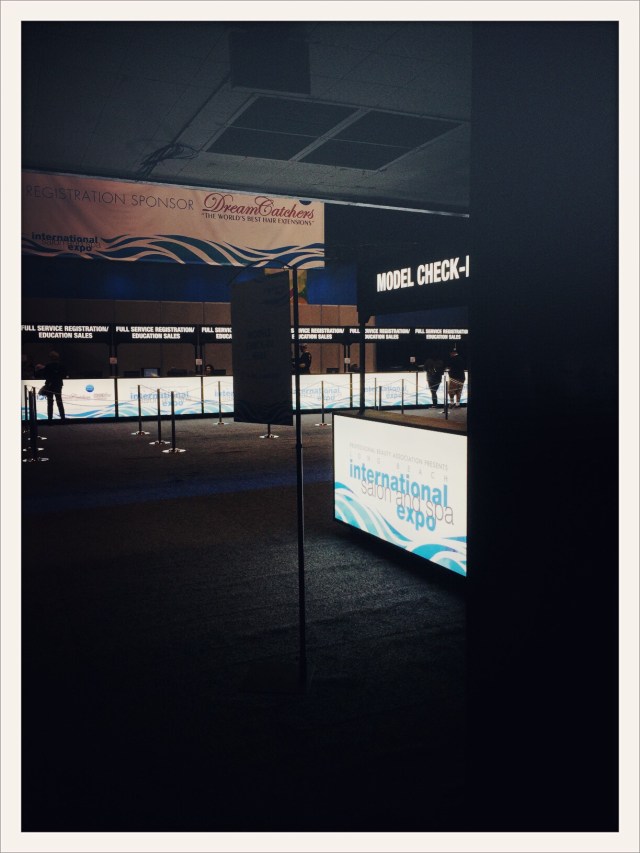
So this blog entry is inspired by my last experience hair modeling at the 2018 International Salon and Spa Expo in Long Beach this past January. This was my first time modeling live in front of an audience, however I have modeled other times within a salon setting. Ultimately the two are very similar in terms of your job as a model.

The first and foremost biggest piece of advice I can give to anyone who wants to be a hair model (whether once or multiple times) is to be reliable. If the stylist can not count on you to be where you need to be at the time they need you to be there, then you are dead in the water. Their time is just as valuable as yours, be sure to acknowledge that, and show up to the appointment you have mutually agreed upon on time.

So how to become a hair model?

If you are into hairstyles, hair color, etc., then you probably follow one or two (or several) stylists on Instagram. On occasion, stylists will post that they need hair models. Usually they are pretty specific as to the type of hair they are looking for. If your hair matches what they are looking for, message them. What have you got to lose. Seems easy, right?!

That’s how I got into it, so it could totally work for you as well.

Also be aware of hair related conventions happening in your area (such as ISSE). Many times stylist’s from all over the country will need local models at these conventions. Perfect situation!

Tips and advice…

So this is the most important information that I feel is included in this post. Again above all, as mentioned before BE RELIABLE. But here are a few extra tips that will help you on your hair modeling journey.

  • Patience – This is HUGE! You are likely to be at the salon or convention all day. Plan for it! There is quite a lot of down time and waiting around, especially if there are multiple models being worked on.
  • Flexibility – Be flexible with your hair, trust the professional. If you have a clear, dead-set idea of what you want and are not willing to stray from it one bit, modeling is not for you. Typically a stylist will ask what you’d like to avoid (mine all did). Be honest, if you don’t want green hair, speak up. But be open to ideas they have.
  • Have fun – Enjoy the process!
  • Camera ready – Be well rested, well prepared, and comfortable in front of the camera. Get a good night’s sleep, no one wants a tired looking model. Come prepared with your makeup done (if requested) and with apparel options (usually black in color).
  • Grace – Be gracious, there are usually a lot of people they could have worked with, and they chose you, so be thankful.

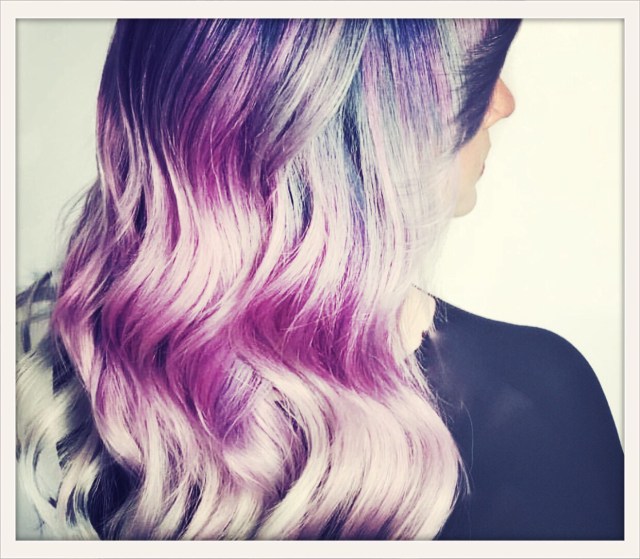
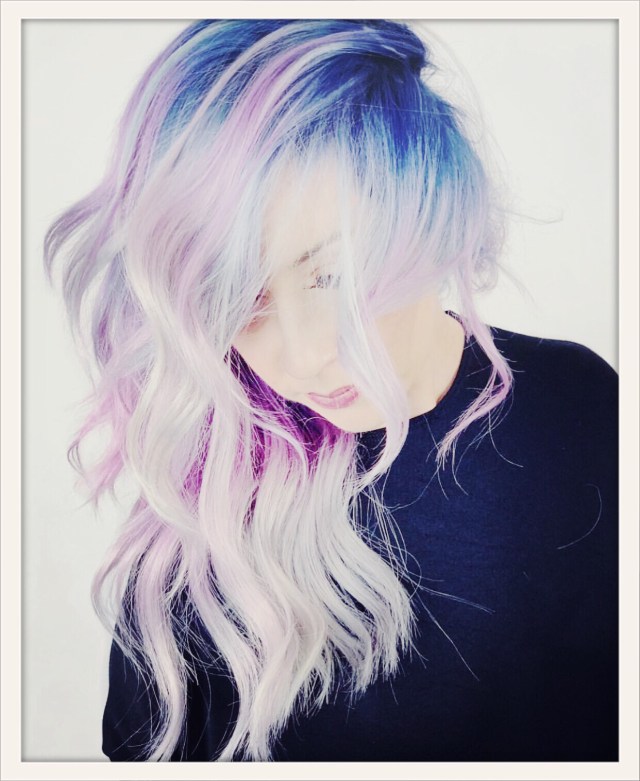
Previous hair modeling

And:

Thanks for reading!

Please leave any questions in the comments 🙂

Valentine’s Giveaway

Happy February Everyone!

I am doing a Valentine’s Day giveaway to celebrate our love of beauty and makeup.

To enter, head over to my IG @allthingsadoredofficial to follow, repost and tag.

Open to US and International participants.

Winner will be selected at random on Feb. 14th

Good Luck!! xo

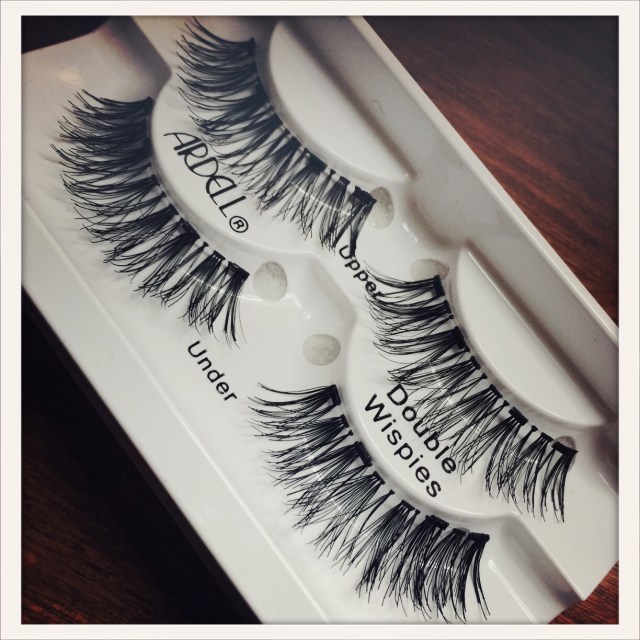
Ardell Magnetic Lashes

I’ve been an Ardell lash user since my dance competition days in middle school. Since then I think I’ve used every shape and style of their lashes that I could get my hands on. They make a quality product that I return to the store to purchase time and time again.

So of course I was SUPER excited when I heard that Ardell was coming out with new magnetic strip lashes. The glamour without the glue? I’m in! 🙂

I pretty much stalked my local Sally’s Beauty Supply and Ulta for a couple weeks. Finally I got my hand on a few pairs.

Upon opening the package, one of the first things I noticed was how lightweight they were, which is a great thing because you’ve now got double the lashes.

Okay so I didn’t quite get how to put them on initially. The video clips make it look super easy. I can tell you it does take some practice, but once you’ve got it down, I think you will like these as much as I do. One piece of advise I can give is to check out Ardell’s IG @ardellbeauty. There you can see videos with some troubleshooting tips such as cutting the lashes into smaller magnetic pieces to make application easier.

So now that you are motivated to give these a try, here’s the where and the how much.

Available at the following stores:

  • Ulta
  • Sally’s Beauty
  • Target
  • CVS
  • Rite-Aid
  • Walmart
  • Walgreens

Available in three styles:

  • Double Wispies
  • Accent Lashes
  • Double 110

Cost: $12-$14 depending on where you purchase.

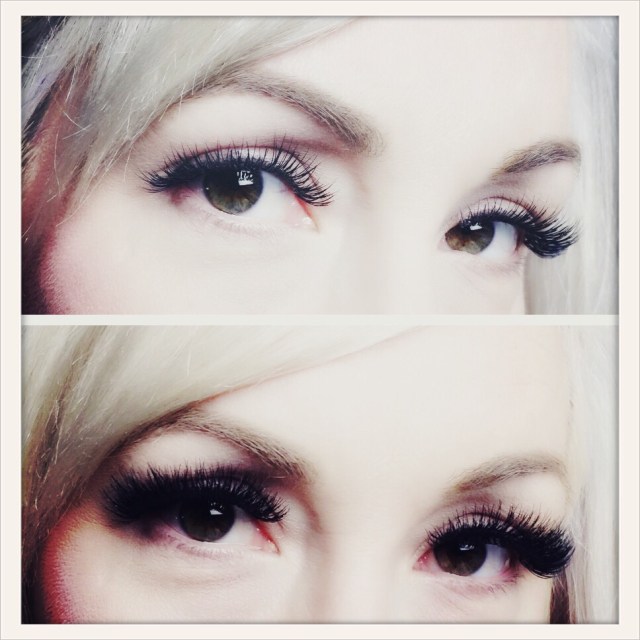
Here you can see a before and after. The top is without the magnetic lashes, and bottom is with the magnetic double wispies.

Thanks for reading!

Photo Information: Top – Ardell Lashes in Double Wispies and Double 110 styles, Middle – Close-up of Double Wispies, and Bottom – Before and After using Double Wispies.

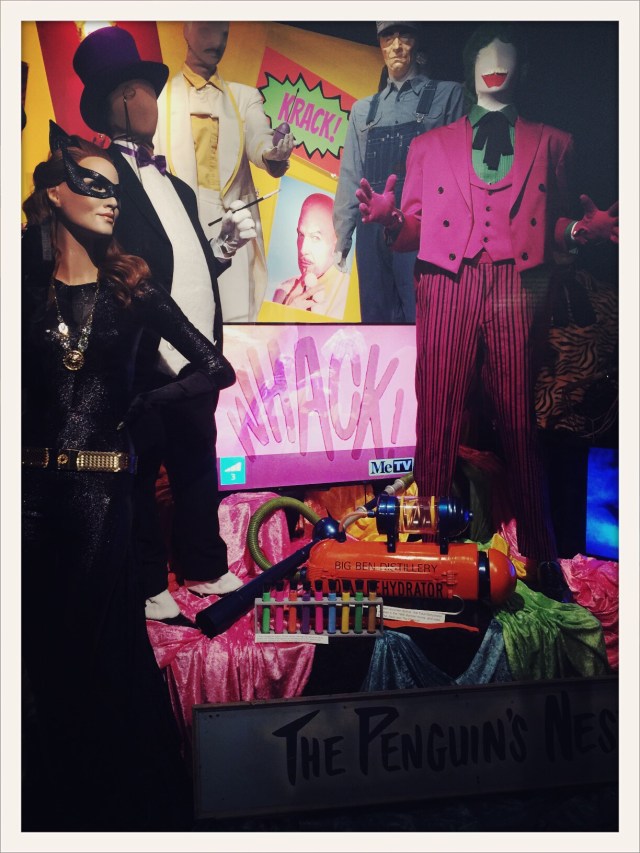
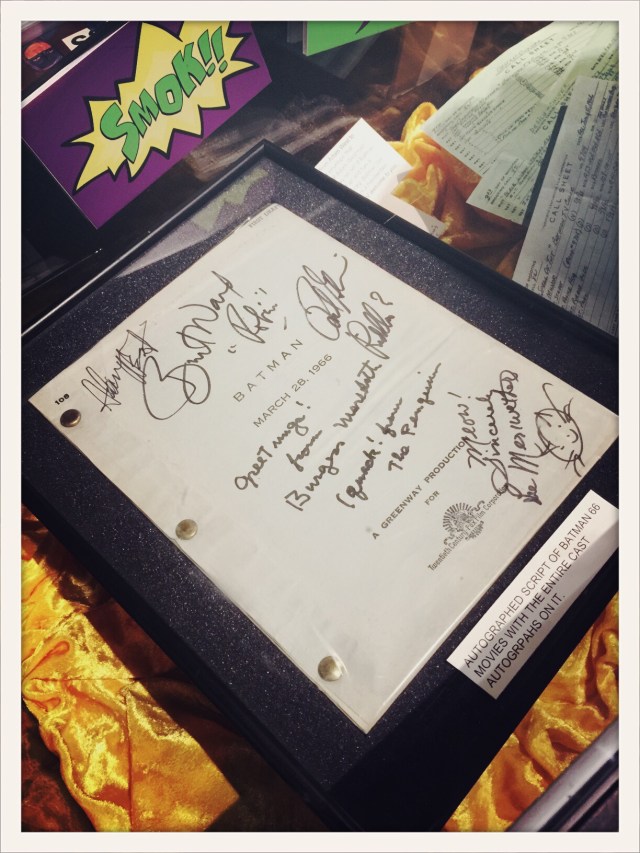
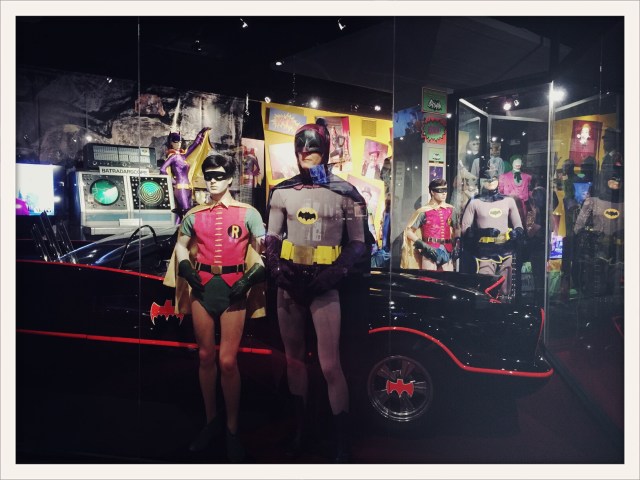
Hollywood Museum – “Batman ‘66” Exhibit

Opening in January at the Hollywood Museum in Los Angeles, California is the Batman ’66 Exhibit.

At the exhibit there is a ton of vintage Batman memorabilia, show props, costumes, and even the Batmobile.

The admission cost for the Hollywood Museum is $15, and there are several other exhibits to check out while at the museum, which I’ll write about in a future blog post.

Thanks for reading!